Scale-up Interview: Senswork

Senswork Header
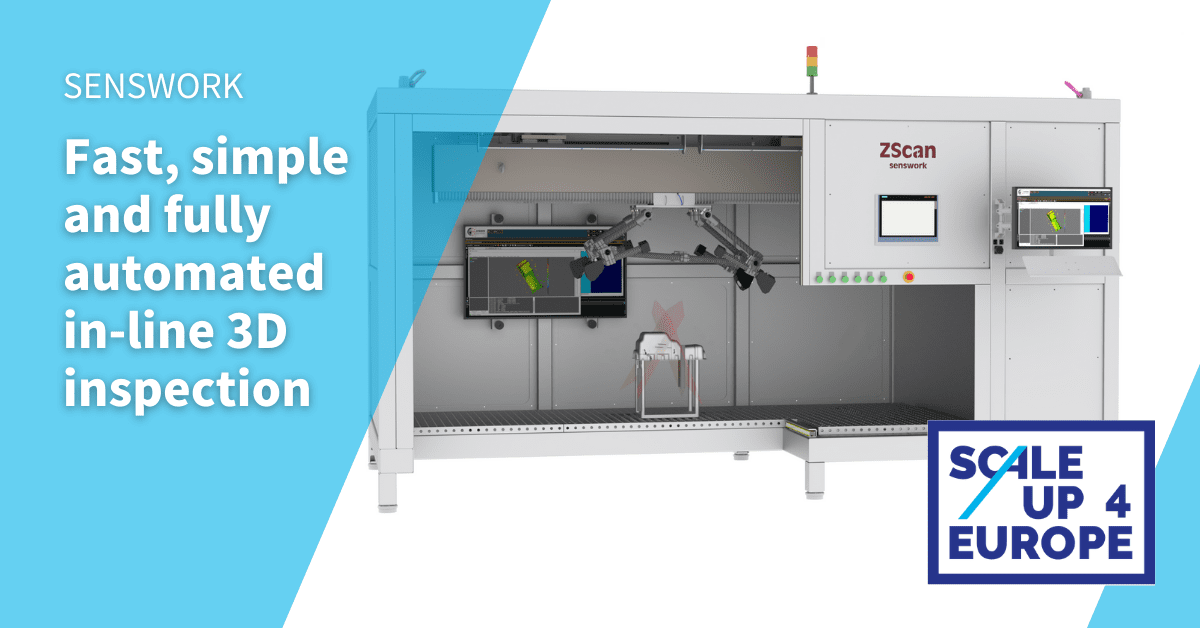
ZScan is a fast, easy to use and fully automated in-line 3D inspection. Senswork’s automatic inspection solutions can reduce costs, ensure quality and guarantee the traceability of products.
How would you describe your business idea to a potential investor (who is not an expert in your particular profession)?
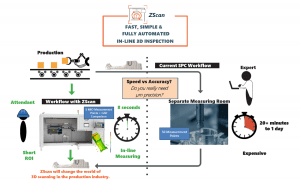
In the current automated production workflow, 3D component measurements mostly take place offline in a measuring room in statistical process controls. These measuring rooms must be attended by a well experienced technician who processes and reports this information.
This process has a lot of disadvantages:
- It is very time consuming as well as expensive.
- It can take minutes to hours for a single measurement job.
- Due to long measuring times, a 100% inspection is usually not possible.
- Most of the time, a measurement reading of 1 µm is not needed. A less accurate, but faster way of 3D measurement would be more appropriate.
What problem do you want to solve, what is your goal?
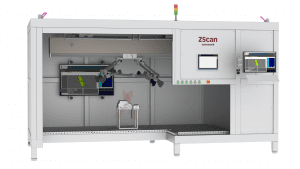
The 3D multi-sensor scanning system ZScan guarantees gapless 3D scanning of medium to large sized products without the need of a measuring room. It can extract millions of measurement points within seconds and provide detailed 3D information and CAD comparison of a part.
ZScan does the whole measurement job in a much shorter time compared to a measuring room. Best of all: No trained expert is needed to run a ZScan system. Software and hardware are designed for simple and robust usage.
How did you come up with your idea/concept?
One of the world’s largest manufacturers of aluminum die-cast parts for the automotive industry approached us with the request to develop a measuring system that can be used to measure large components during the production process. So, we developed ZScan.
What is your business model?
Our general business model is based on the concept of a turnkey solution provider. We offer a wide variety of inspection technologies to best approach our customer’s needs. Part of our daily business includes project management, development, construction, support and last, but not least: being as creative as possible.
Due to our extensive know-how and experience in test equipment manufacturing as well as programming capabilities, we started working on our own product range beginning in 2016. These products were – and still are inspired by the need for certain inspection solutions that are currently not available. ZScan is our latest and most unique creation so far.
For our ZScan Business plan, we reviewed all important points in a business model to guarantee long term success and profit as well as great benefits for our customers.
Where can ZScan be used?
ZScan shows its strength especially in the automotive industry. In the production of die cast aluminium parts, it is used for the 3D CAD comparison and measurement. Expensive and space consuming “gauge check” equipment is no longer needed.
- In the manufacturing of stamped and bent parts and sheet metal, our scanning system can be used for inline quality control.
- In the production process of bus bars of batteries, ZScan can compare the 3D data to extract machine adjustment parameters in closed loop manufacturing.
- Another application is the volume determination of cut goods such as cheese or meat in the food & beverages industry.
What other benefits does it offer and why is it worth to invest?
It is also possible to scan rotational symmetric objects, such as gear wheels, stators and rotors. Two or more lasers on one axis of rotation capture the parts to be inspected in three dimensions. Production processes in which the quality is currently checked in separate measuring rooms can save a lot of time and money with the use of Zscan. One scan with ZScan takes only a few seconds. Quality assurance in a separate measuring room takes from 20 minutes up to 1 day.
Why did you decide to apply to Scaleup4Europe?
ScaleUp4Europe enables us to get in contact with industry partners and hopefully provides us collaborations possibilities for further developments.
Get more information about Senswork on their website or connect with the team on LinkedIn, YouTube or Twitter.
![]()
Senswork is part of the Scaleup4Europe Agile Manufacturing Lab Batch #1.
You want to join one of the four Scaleup4Europe Labs as well?
Get more information and apply at scaleup4.eu.
